How To Master Your Song in 7 Steps
Learn how to take your songs to the next level by mastering your music in this step-by-step guide. We also go over why mastering is important, the use of online mastering services, and how much professional mastering costs.
What is mastering in music?
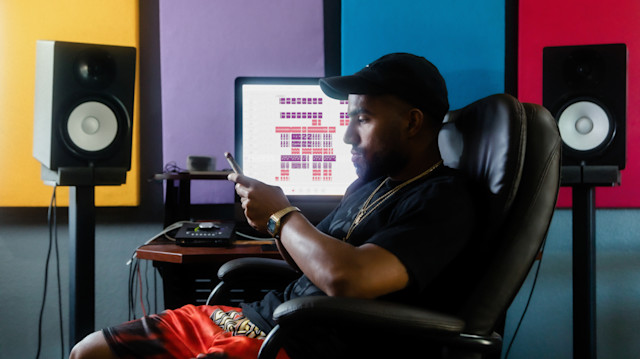
Have you ever shuffled through a playlist and noticed that one song is quieter or louder than the next? Having to adjust the volume between songs can be frustrating when you're just trying to enjoy your music. This is where music mastering comes into play.
The main purpose of mastering songs is to ensure that you have a unified loudness on all tracks and that your music sounds awesome whether you listen to it in your car, with headphones, or in a stadium.
Mastering music is the final step of music production and is done after the mixing process. Mixing is where you focus on each sound of the song to make sure everything sounds good together. The purpose of mastering is not to change the sound of your mix drastically, but to make small improvements to the overall sound.
There are many things you can do in the mastering process to enhance your song. A good rule is to only make changes IF and WHERE the song needs it. There are instances where a song sounds great after mixing and the only adjustment you need to make is the overall volume – or loudness – of the song. With that being said, this article gives you the most important tools that professional mastering engineers frequently use in their projects.
How much does it cost to master a song?
Just like any service, you get what you pay for. An experienced mastering engineer will charge anywhere between $50-$500. The median price probably falls somewhere in the middle of that.
There are, of course, engineers who are willing to master your song for as low as $20, and the result could be just as great. However, a good rule of thumb is, if you skimp on mastering costs, the person you hire will probably skimp on the effort they put in.
Try out a few different mastering engineers. Find someone who delivers a great result every time, and see if you can negotiate a retainer price with that person.
Should you master your own music?
The short answer is: you can, however, you should view mastering as a chance to get someone else to listen to and analyze your song. If you have worked on a project for a long time and spent hours mixing it to perfection, being objective when listening for improvements can be tricky. This is why it’s useful to have a fresh set of ears evaluate the song and make the changes needed to enhance the sound.
Another point to be made is that it takes many years to become really talented at mastering music. Training your ears to listen for problems and knowing how to fix them takes time. That’s why having someone else to help you with mastering could be a good idea if you’re new to music production.
Mastering your music online
AI mastering has become more and more common in music production, with plenty of websites offering free online mastering. The way it works is that a computer analyzes your audio file and then applies effects and limiters to it. This enhances the sound image and volume of the track.
Online mastering is a quick and easy way to get your songs to the same level as any music on Spotify or the radio. It relieves you of having to learn the intricacies of human mastering so that you can focus on the creative process instead.
Soundtrap offers online mastering with just a click of a button. Your song comes out sounding clearer, more dynamic, and at the right loudness level.
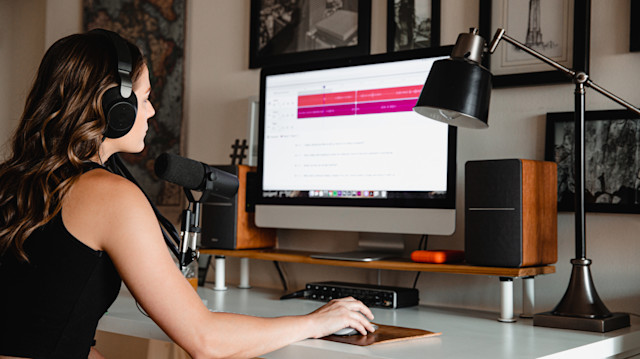
Soundtrap offers automatic online mastering in its DAW.
How to master your song in 7 steps
Preparation
EQ
Compression
Saturation
Stereo Widener
Limiting
Export
1. Preparation
Perfect the mix
While mastering is the process of enhancing an entire song, mixing is making sure each track within that song sounds balanced together. Once you have a great-sounding mix that you’re happy with, you’re ready to start mastering.
No clipping
First thing is to make sure that your mix is not clipping. You should check each track’s level so that no meter is hitting the red. It’s best to leave some headroom in your mix for mastering. Look at the meter level of the master track in your project. Try to keep it from peaking over -3db.
Export the mix
You should always export your mix to a single audio file before mastering. Export settings should be the same as the song project. If your project was recorded with a 24bit rate and a 48kHz sample rate, your exported file should mirror those settings.
Your bounced audio file should be in WAV or AIFF format to make sure that no data loss occurs during export. Never use Normalize in your export settings as it will increase the volume of the song. That’s something you want to take care of later in the mastering stage.
2. EQ
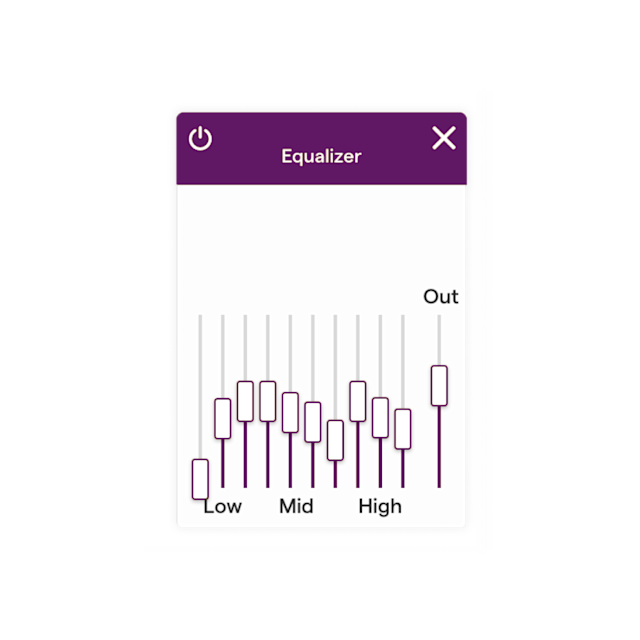
Once you’ve imported your mixed audio file to a new project, make sure you are in a good listening environment. If you don’t have access to a sound-treated room, a car is a great place to analyze a song and detect any issues. Bring a notepad and listen to the song with rested ears.
If the song sounds muffled, try carving out a couple of dBs of the low end with your EQ. You can also try to boost the high end to see if the song sounds clearer. Play around with the EQ to figure out what makes the song sound better. But remember: A little is a lot when mastering music. You should only make small adjustments with the EQ. Boosting or cutting over 3dBs is not recommended in mastering.
3. Compression
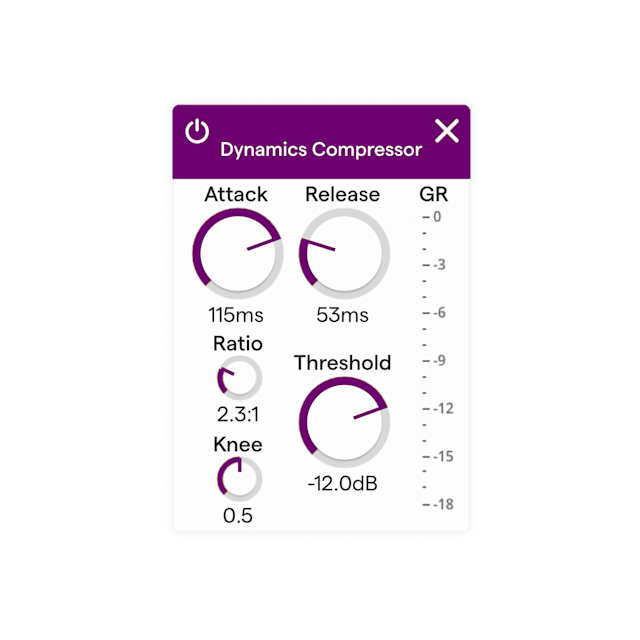
Think of a compressor as an automatic volume fader. When a sound gets too quiet, it increases the volume. When a sound gets too loud, it turns it down. Assuming you took care of any radical volume changes in the mixing stage, mastering compression should only slightly compress the dynamics. Think of it like glue holding everything together.
Set your compressor to a 2:1 ratio, mid to slow attack and release, and then adjust the threshold until you hear the compressor affect the sound. Find a threshold level that improves the song. If it doesn’t, skip it.
Get started with Soundtrap today!
4. Saturation
Saturation is basically sound distortion. If you apply too much of it, your song is going to sound like you’re playing it back on broken speakers. But with just the right amount, you can add harmonic warmth and smoothness to your song. Just like any other effect in mastering, a little goes a long way here.
Find a plugin that you like and add just a tad of saturation. You can even try to just saturate the low end or the high end of the track. Play around with the effect and listen after warmth and fullness. That is what you are going for here.
5. Stereo Widener
If your mixing is done correctly, your stereo image should already sound full and exciting. But if you find your song sounding too mono compared to your reference track, a little Stereo Widening could do the trick.
The bass and kick should be left alone in the middle. Instead, hone in on the mid-to-high end of your song and widen carefully. You don’t want to destroy the stereo image by leaving nothing in the middle.

6. Limiting
Time to get that volume up to competitive levels. In music mastering, loudness is the more common term when referring to a song’s volume level. Just cranking up the volume of your song will only send it into the red and make it sound distorted. Limiting, on the other hand, increases the perceived loudness of a song without clipping.
You should always have a reference track loaded into your project when mastering. You aim to reach the same perceived loudness level as this track. Adjust your limiter to a level that sounds good and measures up to the music you want to compete with. Remember that your song should sound loud, but not distorted, so don’t overdo it.
7. Export
The industry standard for audio files on music streaming platforms is 16bit, 44.1kHz sample rate, and in WAV format. You should export your project with these settings.
If your mix was exported at a different bitrate and/or sample rate, make sure that Dithering is selected so that nothing distorts during export. Again, you should NOT opt-in to Normalize your track here. This increases the volume of the song and you have already taken care of that in the Limiting stage.
You are now ready to export your song, however, the process doesn’t end here. Music production is all about revision. Your first master file will most likely not be your final version.
Play back your mastered song on different devices and in different environments and listen back to it. Take notes on improvements to be made and go back into your studio and edit.
A good rule is to set a deadline for yourself so you don’t run the risk of tweaking the same song for all eternity. Sometimes it’s best to just release a song and move on to the next project.
Musicians are rarely 100% satisfied with their work and that’s ok. Hopefully, every song you make will be incrementally better than the last one.
Let Soundtrap Master your songs for you
If you don’t want to invest the time it takes to master audio mastering, Soundtrap automatically masters your songs for you. This lets you focus on creating music instead of learning all the intricacies of mastering.
Just open up the Soundtrap studio, create your song, and then export it – mastered and ready. Your result will sound polished and competitively loud on Spotify and other streaming platforms.
Try Soundtrap today! Your all-in-one DAW for music production on the go.