8 Important Mixing Tools Every Musician Needs
Want your music to sound professional and streaming-ready? In this blog post, we list the 8 most important mixing tools and plugins that every songwriter, producer, and engineer needs to know and have in their arsenal.
April 5, 2023
Want your music to sound professional and streaming-ready? In this blog post, we list the 8 most important mixing tools and plugins that every songwriter, producer, and engineer needs to know and have in their arsenal.
The mixing tools and effects we talk about in this article are all available directly online in Soundtrap, our cloud-based music production software for songwriting, recording, mixing, and mastering. Try out Soundtrap for free now and let’s get started with your mix.
What are mixing tools and plugins
Mixing tools, sometimes interchangeably called mix plugins, are software applications within DAWs (Digital Audio Workstations) that are used by audio engineers and music producers to manipulate and process audio signals during the mixing and mastering process.
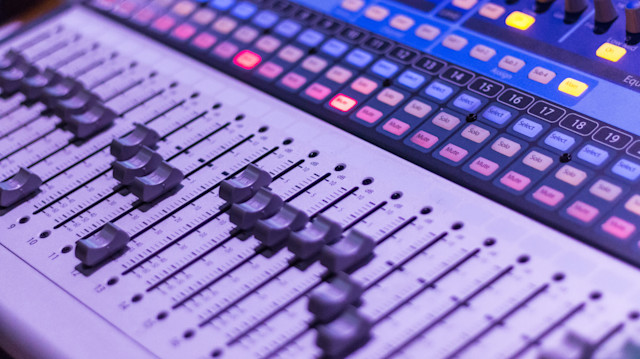
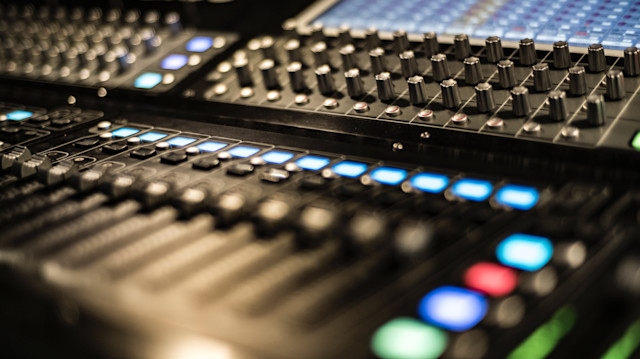
Mixing tools can include both hardware and software applications. Hardware mixing tools include mixing consoles, equalizers, compressors, and other processors that are physically connected to a mixing desk or recording equipment. Software mixing tools, on the other hand, are digital plugins that can be used within a DAW or other music production software.
Mixing tools and plugins can be used to adjust the tonal balance, dynamics, stereo imaging, and other aspects of a mix, allowing producers to achieve a well-balanced mix between instruments and vocals and obtain the desired sound.
Most DAWs include the most essential mixing tools already installed in the software product. Soundtrap, for example, is equipped with over 25 easy-to-use effect plugins for mixing and sound shaping.
It’s also common for producers to use third-party VST plugins that may fit their desired sound or mixing process. We recommend new music producers and sound engineers learn their DAW’s stock effects and plugins before investing in complex, and sometimes expensive third-party mixing software.
Here are the most essential mixing tools that we think every music producer should know and master to achieve a great-sounding mix. Keep scrolling to read more about each of the effects and tools below.
Level Faders
The EQ (Equalizer)
The Compressor
Reverb
Delay
Automation
Panning
Saturation
How to add your mixing effects in Soundtrap
1. Level Faders
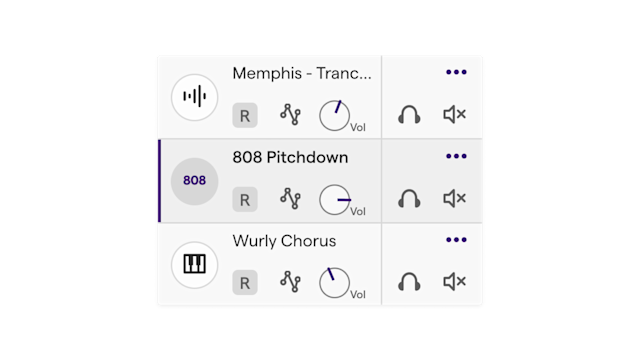
Level faders are an essential tool for any songwriter, producer, or engineer. They allow you to control the volume of individual tracks and make sure that the mix is balanced. When mixing a track, it's important to be able to adjust the levels of each part so that they can all fit together in harmony.
When adjusting a level fader, it's important to pay attention to both how loud and quiet different parts are in relation to one another. If one part is too loud or quiet compared to the others, it will stick out and take away from the overall mix. A good rule of thumb is to not listen to each track solo when you’re adjusting the volume faders. Have all your tracks playing at once to hear what needs to be louder or quieter. By using a level fader, you can make subtle adjustments until all parts blend perfectly.
It's also important to consider how different instruments interact with each other when adjusting levels. For example, if two instruments are playing at similar frequencies but one is louder than the other, then they could clash sonically and detract from each other rather than complement each other as intended. By using level faders you can ensure that no instrument sticks out too much or drowns out another.
2. The EQ (Equalizer)
The Equalizer (EQ) is one of the most important mixing tools available to musicians. It is used to adjust the frequency balance of an audio signal, allowing for more precise control over the sound of a track. An EQ can be used to boost certain frequencies, reduce others, and create various effects like reverberation or a warmer tone.
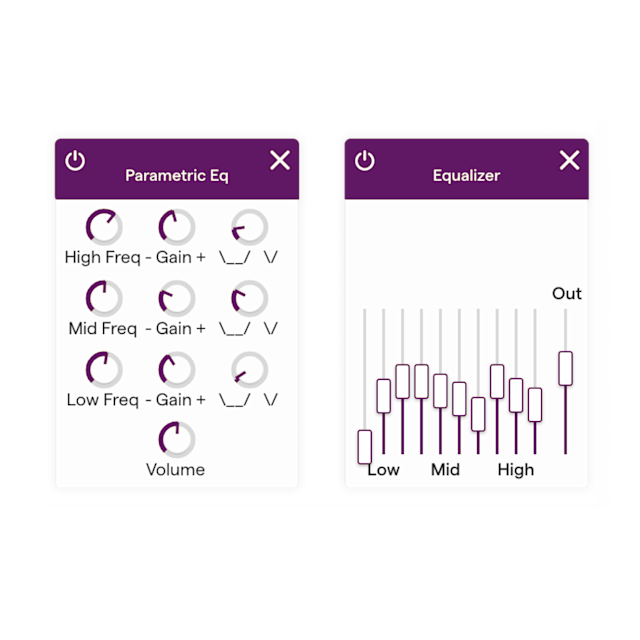
At its core, an EQ consists of multiple bands that can be adjusted independently to shape the sound. Each band covers a different range of frequency and is labeled accordingly in Hz (Hertz), such as 20Hz-300Hz or 1kHz-10kHz, so that you know what range each band affects.
The low-end typically ranges from 20Hz-300Hz and includes bass frequencies, while the mid-range typically ranges from 300Hz-3kHz and includes vocals and other instruments. Lastly, the high end typically ranges from 3kHz-20kHz and includes treble frequencies like cymbals and hi-hats. Visit this great EQ guide if you want to learn more about each instrument's frequency range.
The type of EQ you use depends on what kind of sound you want to achieve. For example, if you want a cleaner mix with less distortion or hums, then a parametric EQ might be best suited for your needs. Parametric EQs allow for more precise control over each band by using adjustable gain knobs instead of fixed bands like those found on graphic EQs; this makes them ideal for reducing specific problem frequencies in mixes without affecting other parts of the frequency spectrum too much.
3. The Compressor
The compressor is one of the most commonly used tools in the mixing process, and for good reason. A compressor is a dynamic processor that 'compresses' or reduces the dynamic range of an audio signal. In other words, it helps to even out volume levels by reducing the level of louder signals so they don't overwhelm quieter parts. This can help to make a mix sound more consistent, professional, and even-sounding.
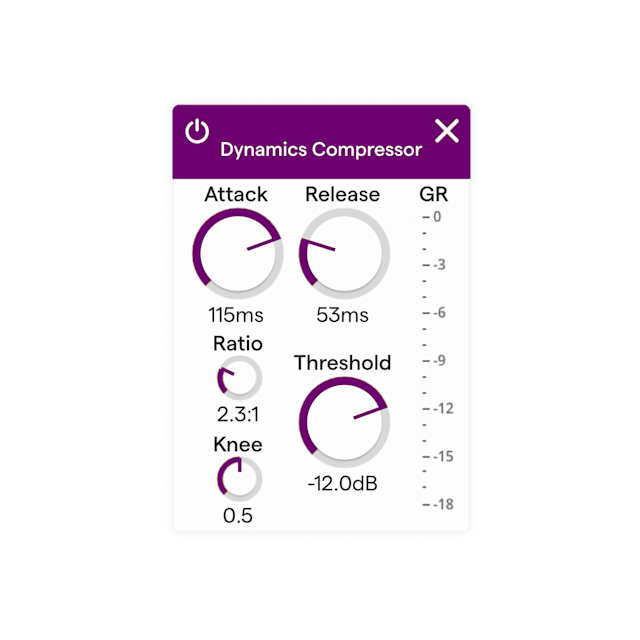
Compressors are typically used on individual tracks such as vocals, drums, guitars, etc., but can also be inserted into a master bus to reduce transient peaks and tame overall dynamics. When setting up a compressor, there are four main parameters you need to consider: Threshold: ratio, attack, and release times.
The threshold determines how loud an input signal needs to be before compression is applied.
The ratio sets how much compression will occur. For example, 3:1 will give you three times the compression for every unit of decibels going into the compressor. The higher the ratio, the more aggressive compression will be applied.
Attack time controls how quickly the compressor will react to a signal above the threshold.
Release time controls how quickly it will return to normal after being compressed.
In Soundtrap's effect library, users have access to three different types of compressors, each with their own distinct sound and functionality. Read more about using compression in Soundtrap here.

4. Reverb
Reverb is an essential tool for mixing music and adding depth, texture, and atmosphere to a track. Reverb is a type of audio effect that simulates the acoustic characteristics of a room or environment – it can be used to make sounds seem larger, more distant, or even closer than they are. It is also commonly used to create space between instruments in a mix and to help transition between different sections of a song.
In Soundtrap's mixer board, users can access a variety of room reverb settings, in addition to its built-in reverb on every track that can be adjusted to taste. Each type of reverb has its own parameters that allow you to customize the sound and character of the reverb effect. Read more about reverb in Soundtrap here.
The most important parameters to consider when adjusting reverb are decay time (how long it takes for the reverberations to die out), wet/dry mix (the ratio between dry unprocessed signal and wet processed signal), pre-delay (the amount of time before the reverberations start) and size (which determines how big or small the simulated space will be).
When working with reverb effects, it's important not to overdo it! As tempting as it may be to add lots of reverb for dramatic effect, too much can quickly kill any clarity in your mix. Be sure to use your ears when adjusting these parameters so that you don't end up with an over-reverbed mess!
5. Delay
Delay is another essential mixing tool that, similar to reverb, adds depth and texture to a mix. It can create movement, space, and depth on a track. Delay plugins come in various forms such as Tape Delay, Digital Delay, Modulated Delay, and Reverse Delay.
When using a delay plugin it is important to consider the two most important parameters available: Time (which determines the delay between the signal and the echo), and the Mix (how much of the effect is heard compared to the original sound).
Other settings to adjust on most delay tools are feedback (how many times the signal gets repeated), and modulation (which adds subtle pitch variations). Read more about using delay in Soundtrap here.
The most common use for the delay is creating an echo effect on vocals or instruments which can be used to add atmosphere or provide some variation in a track. Additionally, delays are often used for creative purposes such as producing rhythmic elements or adding width by bouncing signals between channels with slightly different delay settings.
6. Automation
Automation is an integral part of the mixing process and is used to control certain parameters within a track over time, allowing for greater control and flexibility. Automation can be used to create musical dynamics such as crescendos or decrescendos, automate effects such as reverbs or delays, or automate levels for individual instruments. Automated faders are also commonly used to adjust volume levels between sections to keep a mix sounding balanced and punchy.
In Soundtrap's virtual mixer, users have access to three different automation effects: Volume, Panning, and Sweep (EQing out certain frequencies of the track over time). Read more about automation in Soundtrap here.
Automation can be used creatively to add subtle variations over time which will help bring life into your mix. For example, you could automate the Sweep on a vocal track over several bars to create an interesting texture or build-up effect - something that would otherwise be very difficult or time-consuming if done manually.
7. Panning
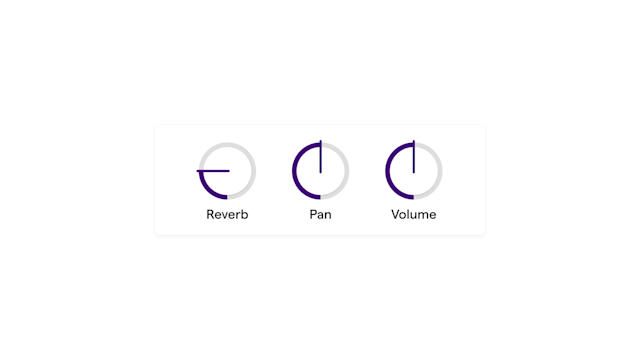
Panning is also an important mixing tool that allows you to control the placement of your tracks in the stereo field. It lets you have certain elements of your song moved to the right or left. Another cool panning effect is to double two recorded takes of vocals (or any other instrument) and pan each of the takes to both sides. This usually gives a fuller and more interesting sound. Panning can be used to create an immersive mix, as well as to emphasize certain elements or instruments.
The best way to learn how to use panning effectively is by experimenting with different settings until you find what works best for your particular song or production. Start by placing all instruments in the center of the stereo field and then experiment by adding subtle amounts of left/right panning until you're happy with the results.
8. Saturation
Saturation (sometimes called Distortion) is a powerful mixing tool for adding warmth and fullness to a mix. It's the process of overdriving audio signals to add distortion, color, and character to a sound. Saturation can be used subtly to add some extra color, or aggressively to create something an aggressive, robotic sound.
It’s important for producers and engineers to understand the difference between saturation and distortion - as they are not truly the same thing. While both can be used in similar ways, distortion is generally more extreme than saturation, which tends to be more subtle. Small amounts of distortion can be used to create a saturation effect to your tracks.
Soundtrap offers 3 options of distortion that can be used to add warmth and character to your tracks: Fuzz, Classic Distortion, and Overdrive. Read more about these effects here.
Summary
There you have it. These effects are the most essential and game-changing mixing tools that producers should know and master to create professional-sounding music. Remember that no skill will be perfected overnight. You need to spend long hours in the studio before you can fully comprehend what these effects do, and how to use them in each specific case.
But practice makes perfect, and luckily, Soundtrap’s mixing tools are easy to learn, which will hopefully save you some time.
Get started with Soundtrap today!