Breakdown of EQ Mixing: Parametric vs. Visual vs. Graphic Equalizers
Jul 10, 2023
-
Anton Berner
So, you’ve decided to become a music mixing pro? Then you’ve come to the right place. In audio mixing, EQ, or equalizer, is arguably the most used tool by engineers and producers and is used to balance out a mix and make room for all the different instruments and vocals that make up a song.
Equalizers (EQs) come in several different varieties, each with its own method of shaping sound frequencies. In this article, I’ll go over the four main models of EQs: Parametric EQ, Graphic EQ, Dynamic EQ, and Visual EQ. I’ll break down the basics of EQ in mixing, from audio frequencies to filter shapes, and provide tips on how to use EQ to shape the sound of a track.
Knowing how to use the EQ is key to taking your mix from good to great. So if you’re one of those countless people who lie sleepless at night, wondering why their mixes don’t sound as good as the songs you hear on the radio, this is the article for you!
Learn how to use EQ in Soundtrap to get a cleaner-sounding mix.
What is EQ in music?
EQ stands for equalization and it’s a process of manipulating audio frequencies to change the sound properties of a track. It is used in mixing and mastering to enhance or reduce certain frequencies to shape the sound. Think of it as turning up or down the volume on specific frequencies instead of the entire song.
The EQ process involves boosting, cutting, or removing certain frequencies to achieve a desired sound. This is done by changing the various bands on the EQ. Each band represents a different set of frequencies on the spectrum. The are multiple models of EQ plugins, the most common ones being parametric and graphic equalizers.
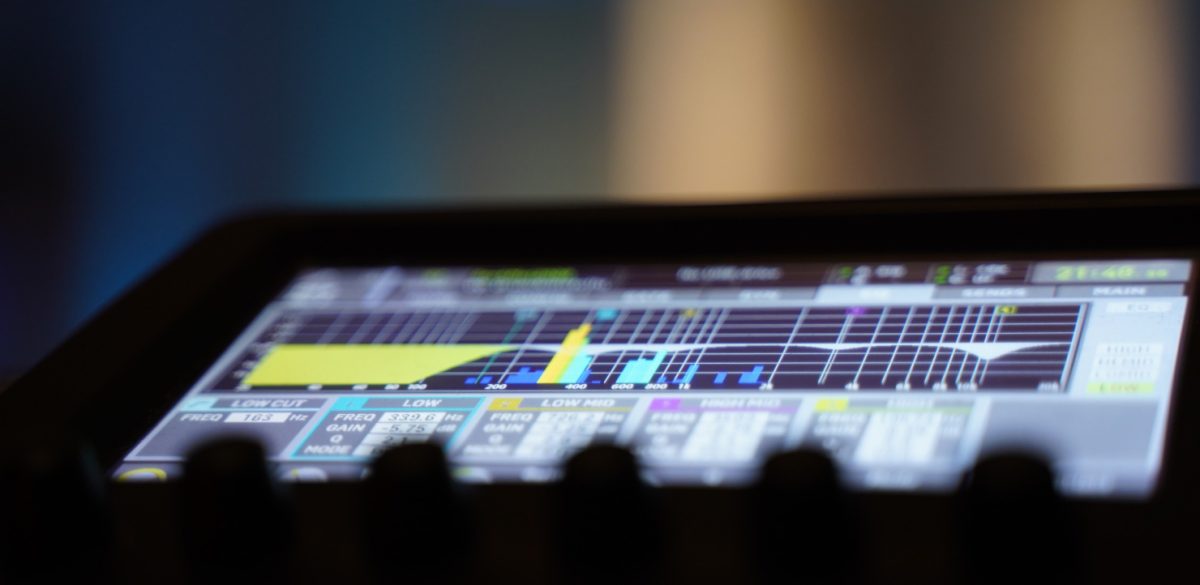
Parametric equalizers allow for more detailed control over specific frequency ranges by allowing you to adjust parameters like Gain (volume), Q, or Bandwidth, (width of affected area), and frequency (center point). Visual Equalizers are a type of Parametric EQs and are great for visualizing the effects of your settings on frequency spectrums Graphic Equalizers are more static and are best for quickly adjusting multiple bands at once with simple slider controls.

Parametric EQ (left) and Graphic EQ (right) in Soundtrap.
EQs are often used to make certain sounds stand out in a mix or reduce unwanted frequencies. For example, if you want your lead vocal to cut through the mix more clearly, you might want to boost its presence by bringing up the high-midrange frequencies around 3-5kHz while reducing some mid-low range frequencies around 600Hz.
Conversely, if you want your drums to have more punch and clarity you could bring up some low-end bass frequencies around 80-100Hz while reducing some higher midrange frequencies around 2kHz.
Using EQs can be tricky at times but with practice and experimentation, you will soon become comfortable with this powerful tool and your mixes will gradually get better with each project.
Read more: Mix Your Songs Online
Audio frequencies explained
Audio frequencies are the cornerstone of music production and have a great impact on the way we perceive sound. They range from low rumblings to piercing high-pitched sounds measured in Hertz (Hz). The human ear can hear roughly everything between 20Hz (rumble) to 20kHz (high-pitch) and that’s why most EQs display that frequency range in their interface.
These frequencies can be manipulated using the equalizer (EQ) to achieve desired results. The amplitude (or volume) of a signal is measured in decibels (dB), with each 10 dB increase doubling its perceived loudness. So each frequency band can be amplified or reduced in dBs with an EQ.
With an EQ, you can adjust specific frequency ranges by boosting or cutting various bands, depending on what type of filter shape you apply. As experience in this field increases, it becomes easier to pick out those frequencies that require adjustment for each instrument or vocal track to get the desired effect.
Visit this helpful cheat sheet on the EQ frequency spectrum in relation to different instruments.
Types of EQs
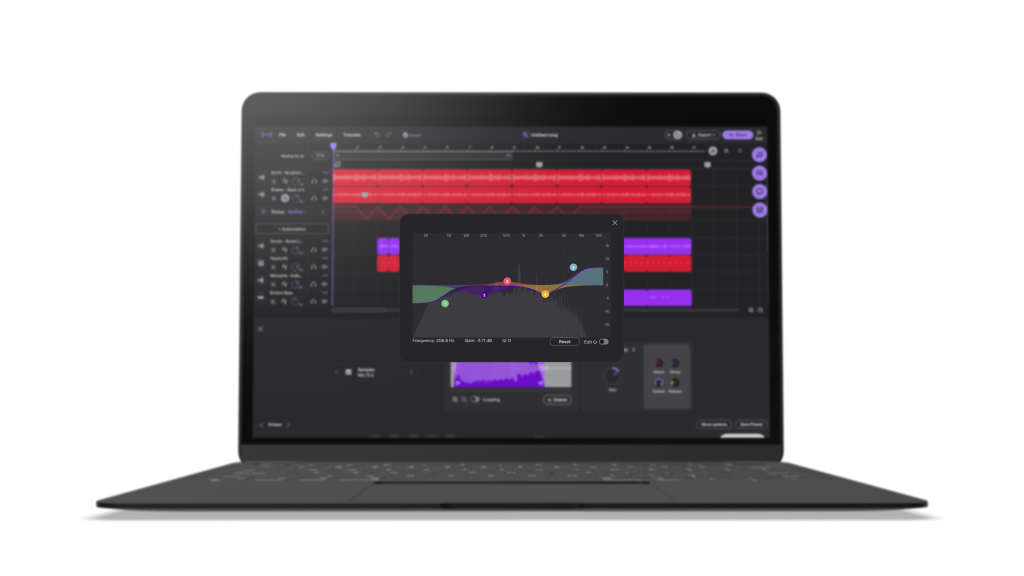
There are three main types of Equalizers: Parametric, Graphic, and Dynamic. I’ll go over each of them below. A Visual EQ, like Soundtrap’s new EQ effect, is a more intuitive and user-friendly version of a Parametric EQ, allowing users to more easily see the impact of their changes live on an audio spectrum.
Read more: Get Cleaner Mixes with Soundrap’s New Visual EQ
Parametric EQ
Parametric equalizers offer precise control over different frequency bands. These equalizers allow users to adjust the amplitude and bandwidth of each band with a single knob. These EQs typically include the following settings: Center Frequency, Slope, Q (bandwidth), and Gain (decibels).
By adjusting these parameters, users can create unique filter shapes for each band that can be used to boost or cut specific frequencies as desired. Parametric EQs are great for fine-tuning specific sounds but do require more time and effort than other EQ types.
Graphic EQ
Graphic equalizers provide a simpler way to adjust tones across multiple frequency ranges at once. These equalizers feature sliders that allow users to quickly adjust the amplitude of each frequency range individually without having to worry about creating filter shapes like a parametric EQ would require. Graphic equalizers are great for making quick adjustments but lack the precision of a parametric EQ when it comes to fine-tuning individual sounds.
Dynamic EQ
Dynamic Equalization is also available in some software. This type of EQ allows users to automatically adjust levels across different frequency bands based on pre-defined settings such as vocal enhancement or bass reduction without having to manually move any sliders or knobs themselves. So you can choose to have the EQ effect on one track in relation to the sound of other instruments or vocals. This makes Dynamic EQing very powerful and useful in instances where you want your track to be more dynamic overall.
Visual EQ
Visual equalizers offer an intuitive design that makes it easy for anyone new to mixing and mastering to understand how they work. Visual EQs display the amplitude of each frequency range in relation to one another on a graph so that users can easily adjust their mix accordingly by dragging points up or down on the graph as required.
Visual Equalizers are great for quickly adjusting tones across multiple bands at once while still providing some degree of precision when it comes to fine-tuning individual sounds. If you want to try out a visual EQ, check out the new Visual Parametric EQ by Soundtrap.

Soundtrap’s new Visual EQ is a parametric equalizer with a visual interface.
Bands and filters in equalizers
Understanding the various bands and filters your EQ contains is key to achieving the desired sound. To breakdown the difference: EQ bands are frequency ranges that divvy up the spectrum into adjustable sections. For example, one band could control frequencies between 500-1000Hz, while another band affects the frequencies between 10-12kH. With a parametric EQ, you’re able to adjust each band’s range more freely, making it a more surgical tool for mixing.
EQ filters are different shapes of the EQ bands, and each shape affects the sound differently. Most commonly, an EQ will have Low Pass and High Pass filters, shelf filters, bell-shaped filters, and notches. We will go through each filter separately in this section.
Low-pass and High-pass
High-pass and low-pass filters are located at the end of each side of the frequency spectrum. These filters are commonly used as a way to remove bass or treble frequencies completely due to their cut-off shape. A high-pass filter is usually applied to vocals to cut off the rumbly and muddy frequencies at the lower end of the spectrum, to make the vocals clearer and more distinctive in the mix. A low-pass filter, on the other hand, is very helpful when you want to make your bass instruments deeper and cut off some of the higher, more shriek frequencies.
Shelf filter
These filters are also located on the sides of the spectrum and can be employed to take out some of the lows or highs, without cutting off the sound like a low/high pass filter would. Shelves are also helpful when you want to boost frequencies at the ends of the spectrum. Try adding a shelf at the top end of your vocals and boost the gain some to make them a bit more crisp and clearer.
Bells
Bell filters lend themselves well to targeting bands in the middle of the frequency spectrum with precision. A bell filter will have a center frequency that represents the top or end of your filter, depending on if you’re cutting or boosting the frequencies.
The bell EQ can have a wide shape to cover many frequencies within its range, or it can have an extremely narrow shape to target a small range of frequencies, which will make it more of a Notch filter.
Notch
The notch filter is essentially a very narrow bell – this is great for dealing with feedback loops in live sound situations or reducing any resonances that may occur in recordings. Let’s say you have some static going through the mic when you record. This would ideally be taken care of while recording, but if it’s too late and you have to fix this during mixing, a notch filter might just save you by letting you cut off the exact frequencies where the static is.
Different EQ settings
Understanding the different settings available in your EQ can help you get the most out of this powerful mixing tool. Parametric, graphic, and dynamic equalizers all offer different types of control over various frequency bands, allowing users to make precise adjustments or achieve broad sonic characteristics.
Slope
One of the most important settings found on an equalizer is the slope, which determines the steepness of the EQ curve. By manipulating this setting, users can adjust how much a certain frequency band is affected by the EQ in relation to other frequencies. A steeper slope means that more frequencies are affected by a given adjustment while a shallower one means fewer frequencies are impacted.
Center Frequency
The Center Frequency setting determines which frequency is being used as the midpoint of the EQ adjustment. Depending on the shape of the filter you’re using, other frequencies around the center point could be affected as well by changes made to the center frequency.
This setting can be used to target specific problem areas or even boost desired frequencies for creative effects. It’s important to note that not all equalizers have this feature – some graphic EQs may only offer fixed frequency bands instead.
Q (Bandwidth)
The Q (Bandwidth) setting controls how wide your correction affects certain frequencies. If Q is set low then it will affect a wider range of frequencies while higher values will affect fewer but more focused ones.
Gain
The Gain setting is a measurement of how many decibels you change each band of the EQ. It can be either a – value or a + value depending on if you’re boosting or cutting. A useful rule of thumb in music mixing is to adjust frequency bands on an EQ with modesty. Too much gain could possibly hurt your mix but too little gain will not be noticeable to the human ear. Experiment with different levels of adjustments and train your ears to hear the output of each change. In time, you will get better at hearing what needs to be done and making the appropriate corrections.

Understanding the settings available in your EQ will help you get the most out of your mixing.
How to use EQ in mixing
Mixing is a vital part of creating a high quality song, and using EQ plays an essential role in the process. Knowing how to deploy EQ can help producers accomplish their preferred sound and take their songs to new heights. Here are some tips on how to use EQ when mixing:
Subtractive EQ
This EQ technique is the process of cutting frequencies to take out any redundancy from the mix. Many producers and mixing engineers will argue that it’s best practice to start with subtractive EQ before doing anything else to your tracks. Listen to the song as a whole and identify problems in the sound. Then add an EQ to the track in question and start taking out problematic frequencies.
Additive EQ
This technique is the process of boosting frequencies that are missing from the mix and is usually done after compression and other effects. Listen for elements in the mix that should be elevated and brought forward. Find out what frequencies on each track should be boosted and start tweaking the settings until it sounds good.
Avoid overusing EQ
While it may be tempting to reach for the EQ knobs every time a track isn’t quite sitting right in the mix, it’s crucial not to overdo it as too much EQ processing could lead to a distorted or muddy-sounding track. To sidestep this issue, try cutting back on some of the boosts rather than adding more boosts or cuts before reaching for additional tools such as compression or reverb plugins.
Take the whole mix into account
When using EQ on individual tracks, it’s imperative not just to weigh up the sound of that particular instrument but also how it fits into the entire mix as a whole. For example, boosting too many high frequencies on one track may make it sound great by itself but could cause too much brightness when combined with other instruments in your mix. Listening back regularly and making small adjustments will aid ensure everything sounds balanced together instead of overpowering each other when all parts are playing concurrently.
Produce music with Soundtrap
Soundtrap is an all-in-one platform for music production online. If you’re serious about music production, our web-based music studio is a great place to start. Soundtrap lets you create songs in any genre from scratch, or why not get inspired by over 25.000 pre-made loops and samples from our sounds library?
Our instrument presets and mixing effects lets you record, mix and master your songs to perfection. You can also collaborate in real-time with anyone from across the world, on the same project. Soundtrap is music production made easy, yet powerful! Get started with your free account today.


